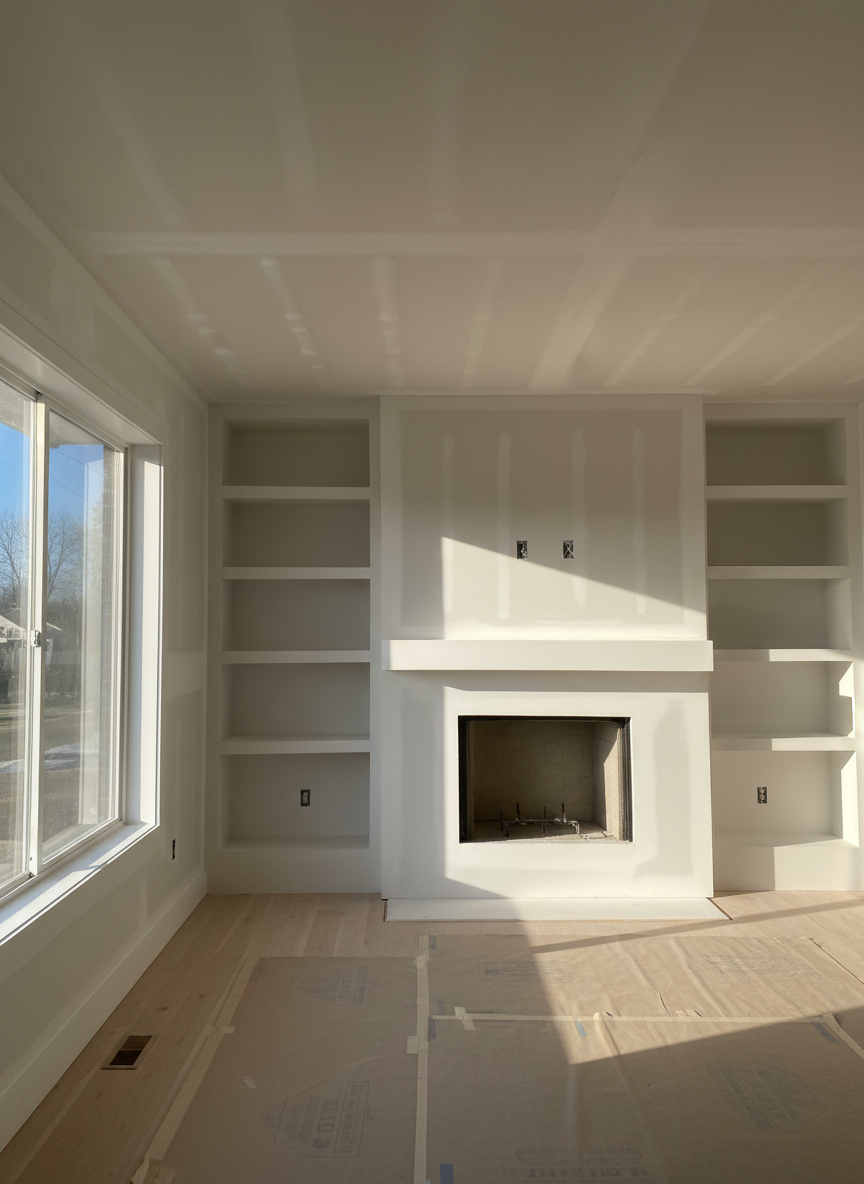
Services
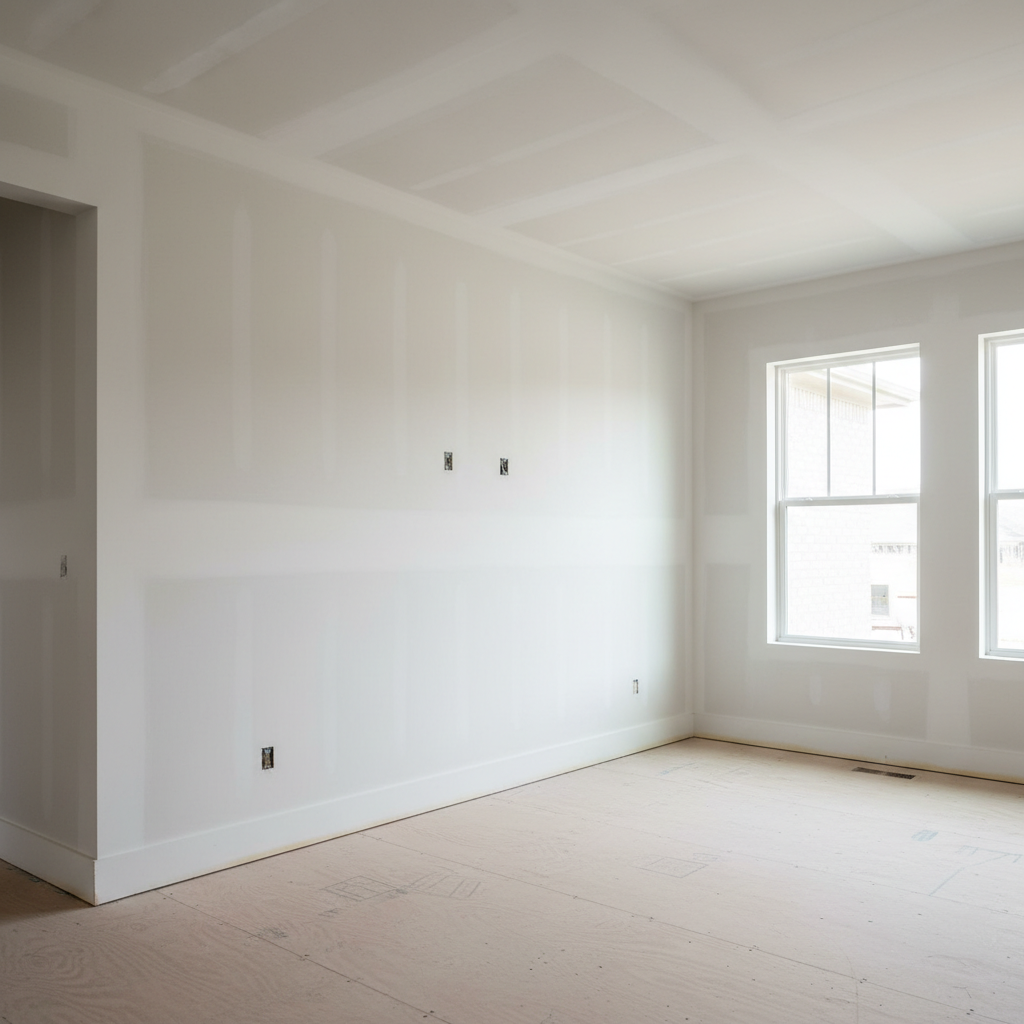
Installation
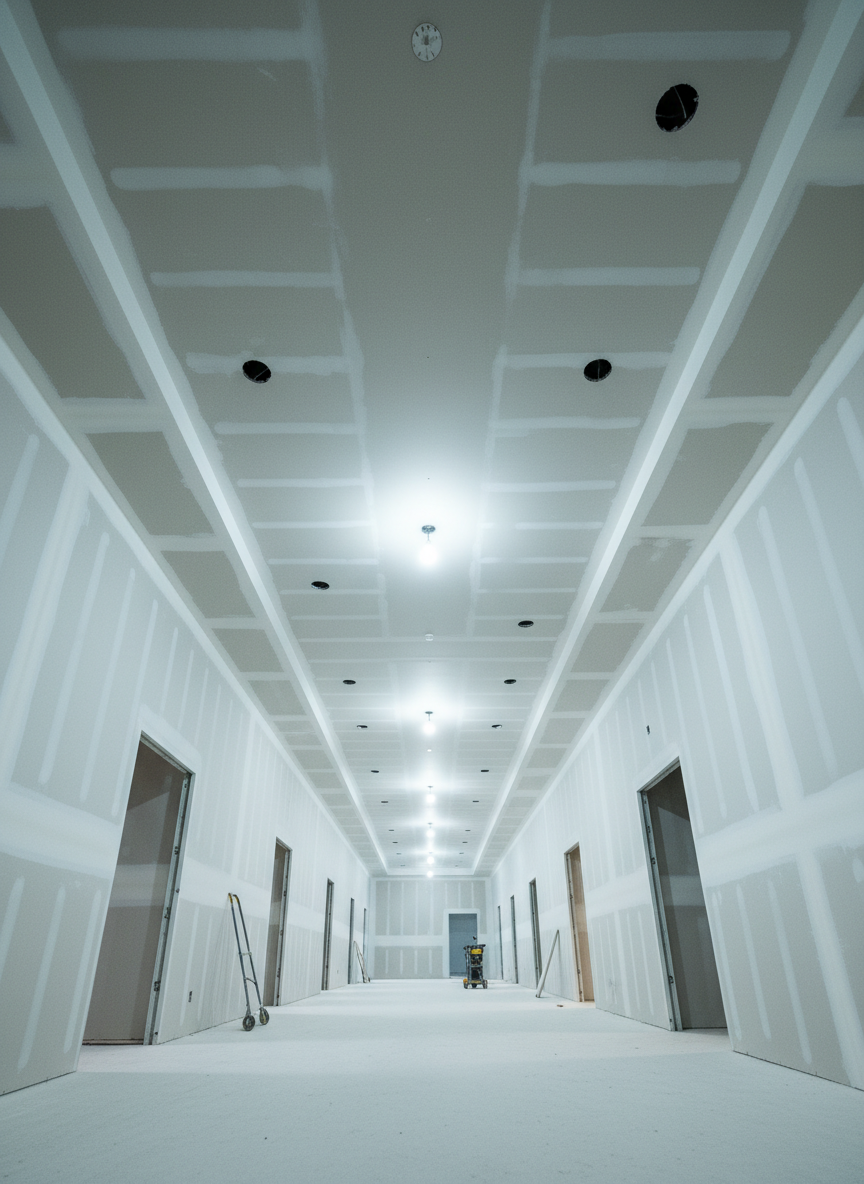
New construction and remodel drywall installation for homes and businesses in Holland, Michigan and surrounding West Michigan communities.
Professional hanging, taping, and finishing for smooth, paint‑ready walls in new builds and room additions.
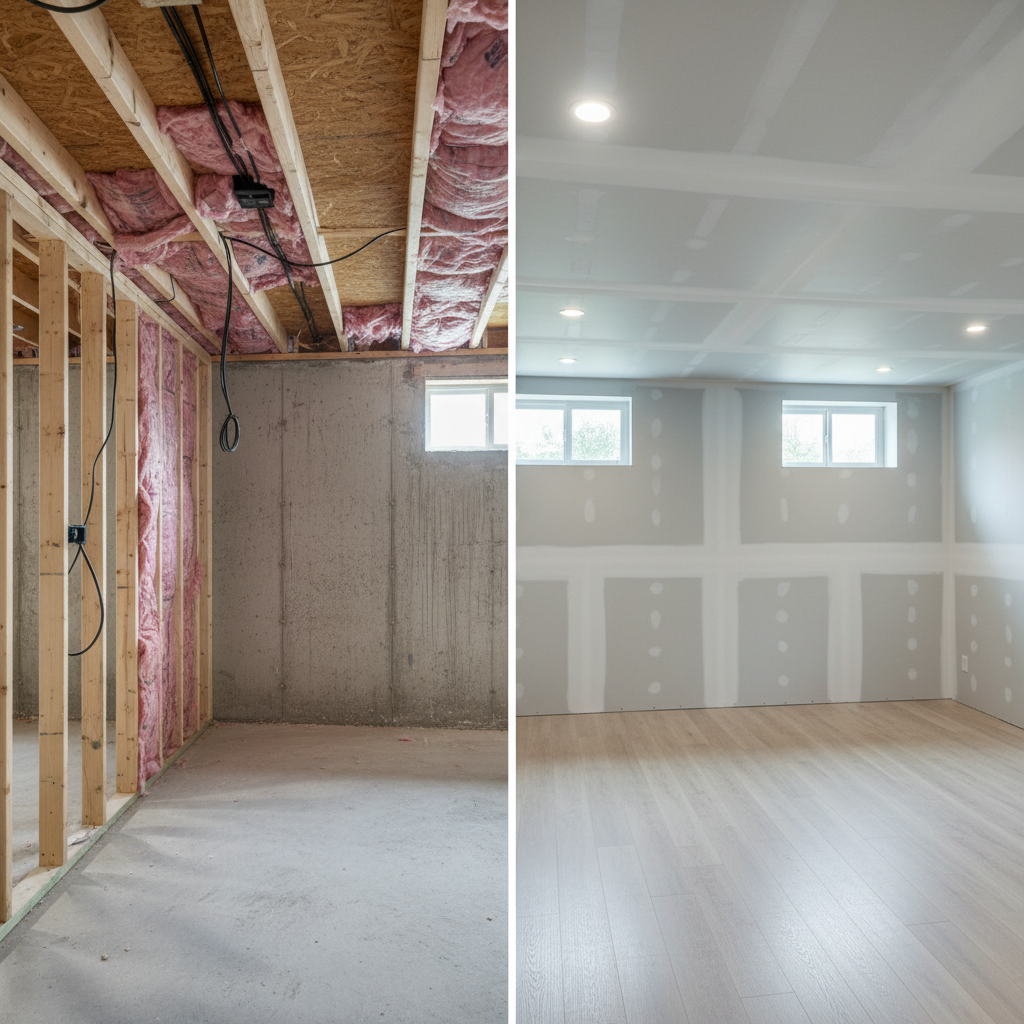
Repairs
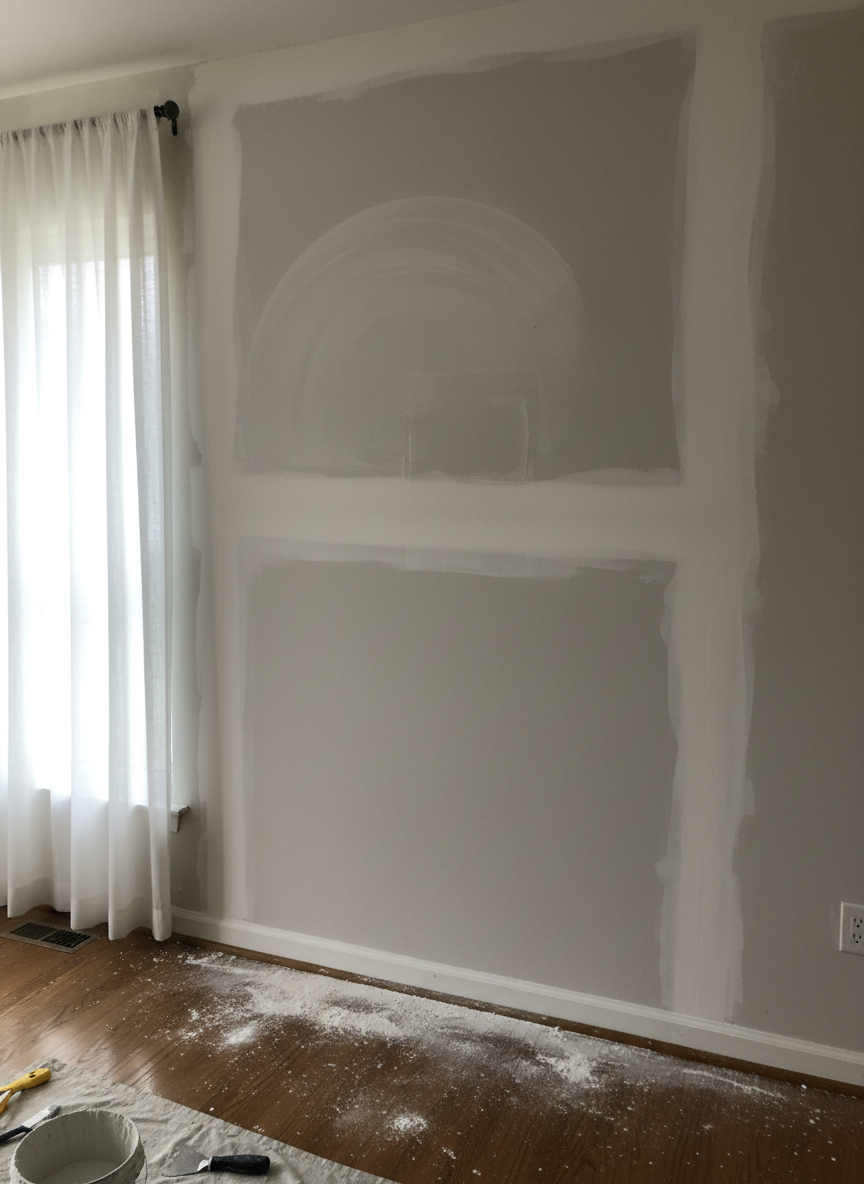
Fast drywall repair for holes, cracks, water damage, and nail pops to restore your walls and ceilings.
From minor patches to large sections, we blend textures so repairs disappear into your existing walls.
Finishing
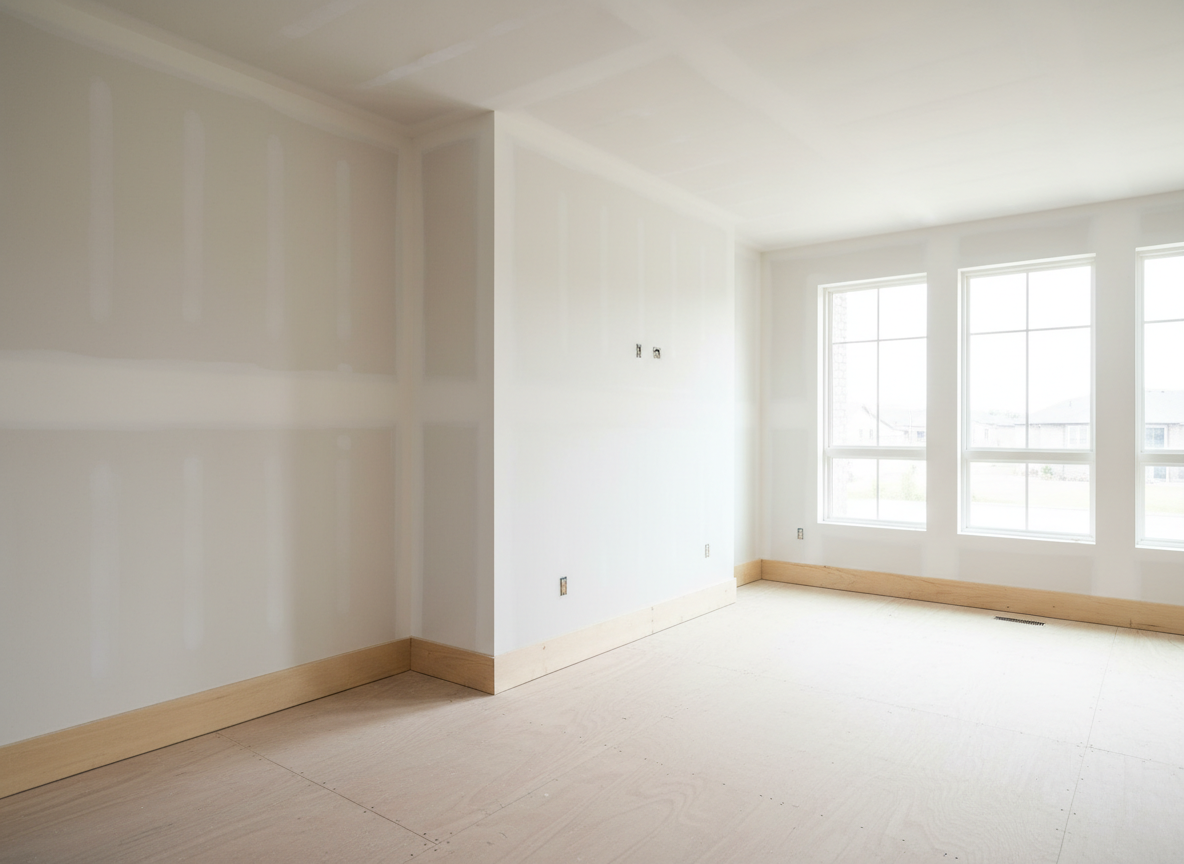
Expert taping, mudding, sanding, and texture application for a flawless finish that improves appearance and boosts property value.
Level‑five finishes, orange‑peel and knockdown textures available for residential and commercial projects across Holland and Ottawa County.
Drywall Repair & New Drywall Installation in Holland, Michigan
Whether you’re dealing with a water-damaged ceiling, nail pops, or cracked walls — or you’re building something brand new — Holland Drywall brings skilled craftsmanship and local experience to every project in Holland, West Michigan, and across Ottawa County. Below you’ll find a plain-language guide to how drywall work gets done, how to decide between repair and full replacement, what types of drywall and finish levels are available, and what to expect when removing an outdated popcorn ceiling. When you’re ready to move forward, we’re here to provide a free, no-obligation estimate.
The Drywall Process: From First Look to Finished Wall
Step 1 — Assessment & Preparation
Every project starts with a thorough assessment. For repairs, we identify the root cause — moisture intrusion, settling, impact damage, or age — before touching a single panel. Skipping this step leads to the same problem returning in six months. For new installations, we confirm that framing is plumb, level, and properly spaced (typically 16 or 24 inches on center), and that rough-in mechanical, electrical, and plumbing inspections have been approved. Proper preparation protects your investment and is the foundation of a long-lasting result.
Step 2 — Hanging the Drywall
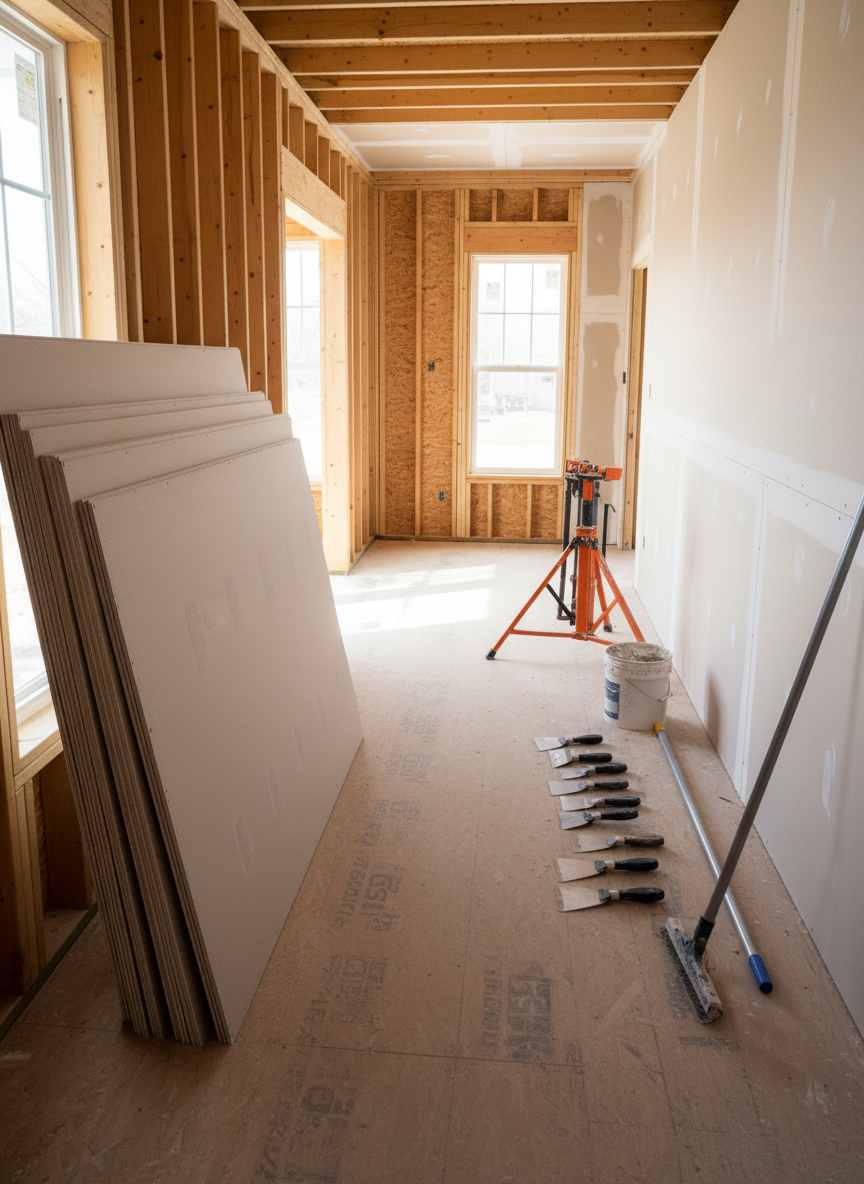
Hanging drywall — also called boarding or hanging — means fastening panels to studs or joists with screws or nails. Panels are measured and cut to fit around windows, doors, outlets, and fixtures. On ceilings, panels are installed perpendicular to joists for maximum strength. Butt joints are staggered to prevent continuous seams, which minimizes cracking over time. For repairs, only the damaged section is removed and replaced, with backing boards added as needed to provide solid fastening points at the edges of the patch.
Step 3 — Taping
Once panels are secured, all seams and corners receive paper or fiberglass mesh tape embedded in joint compound (commonly called “mud”). Paper tape is preferred for flat seams because it creates a stronger bond with fewer bubbles; mesh tape is often used for repairs because it is self-adhesive and easier to apply in tight spots. Metal or plastic corner bead is applied to outside corners to create a crisp, durable edge. This taping coat is the structural layer that bridges the gap between panels and prevents cracks from telegraphing through the finish.
Step 4 — Mudding (Multiple Coats)
After the tape coat dries completely — usually 24 hours — a wider feathering coat of joint compound is applied to blend the tape into the surrounding drywall. A third finishing coat further smooths and levels the surface. Each coat must dry fully before the next is applied; rushing this stage is one of the most common causes of cracks and surface defects. Higher finish levels require additional coats and progressively lighter touch-ups. Screw or nail dimples, corner beads, and any texture transitions are also filled and feathered during this stage.
Step 5 — Sanding
Sanding removes ridges, tool marks, and high spots left by the mudding process. We use pole sanders for large flat areas and hand sanders for detail work near trim and corners. Drywall dust is extremely fine and pervasive; we use dust-containment systems and seal off doorways whenever possible to protect the rest of your home or business. After sanding, surfaces are wiped down and inspected under raking light to catch any remaining imperfections before priming.
Step 6 — Priming & Painting
A drywall-specific primer (PVA primer for new drywall, or a high-build primer for repaired areas) seals the porous paper and compound, preventing paint from absorbing unevenly — a problem called “flashing” that shows up as dull patches on an otherwise painted wall. Without primer, even premium paint will not hide the seams. Once primed, the surface is ready for your chosen finish paint. Holland Drywall completes work through the prime coat; for painting, we can coordinate with your preferred painter or provide a referral to trusted local painters in the Holland area.
Repair vs. Full Replacement: How to Decide
One of the most common questions we hear from Holland homeowners and business owners is: “Can this be patched, or do I need new drywall?” The honest answer depends on the size, location, and cause of the damage.
When Repair Is the Right Call
Isolated holes from doorknobs, picture hangers, or accidental impacts are ideal repair candidates, as are hairline cracks from normal settling, nail pops, and small sections of water damage where the moisture source has been fully resolved. A skilled drywall contractor can patch areas up to several square feet and blend the texture so seamlessly that the repair becomes invisible after painting. Repair is faster, less disruptive, and significantly less expensive than replacement — making it the smart choice when the surrounding drywall is otherwise sound.
When Full Replacement Makes More Sense
Large-scale water damage — particularly where drywall has become soft, crumbly, or shows mold — requires removal and replacement. Attempting to patch over compromised drywall traps moisture and can lead to hidden mold growth. Similarly, if a wall or ceiling has sustained structural damage, has been riddled with multiple patches over the years, or needs to be opened for electrical or plumbing updates, it is usually more cost-effective to replace entire panels rather than piecing together multiple small repairs. We’ll give you an honest assessment and recommend the most practical solution for your situation in Holland, Michigan.
Drywall Types, Finish Levels & Texture Options
Choosing the Right Drywall Type
Not all drywall is the same. Standard ½-inch drywall is used for most interior walls and ceilings. Five-eighths-inch Type X drywall provides fire resistance and is required in garages, between living and utility spaces, and in many commercial applications. Moisture-resistant “green board” or cement board is used in bathrooms and other high-humidity areas. Soundboard and QuietRock panels reduce sound transmission between rooms — popular in home offices, bedroom walls, and multi-family construction. We stock and install all common panel types and will specify the right product for your application and local building codes in Ottawa County.
Finish Levels Explained (Level 1 through Level 5)
The drywall industry uses a standardized scale from Level 1 to Level 5 to describe how thoroughly seams and surfaces are finished. Level 1 (tape only, no finishing coats) is used in concealed spaces like attics. Level 2 adds a thin skim coat over tape and is appropriate for garage walls that will not be painted. Level 3 — two coats over tape, lightly sanded — is standard for surfaces that will receive heavy texture. Level 4 is the typical residential standard for walls and ceilings that will be painted with flat or low-sheen paint. Level 5 — a full skim coat over the entire surface — is the premium standard required when walls will be finished with high-gloss or semi-gloss paint, dramatic lighting is present, or an ultra-smooth appearance is required. Holland Drywall performs all five finish levels and will recommend the appropriate level for your project and paint choices.
Texture Options for Walls & Ceilings
Texture adds visual interest, helps hide minor imperfections, and can give a room a distinctive character. Common options include: Orange Peel — a light, bumpy texture that resembles the skin of an orange; very common in West Michigan homes for its durability and ease of touch-up. Knockdown — a heavier splatter that is partially flattened (“knocked down”) with a trowel to create an irregular, mottled surface. Skip Trowel — a hand-applied texture that produces a more artisanal, random pattern with smooth islands surrounded by fine ridges. Smooth (Level 5) — no texture at all; a completely flat surface that looks crisp and modern but requires the most preparation to execute properly. We match existing textures on repairs and apply new textures on full installations throughout Holland and surrounding West Michigan communities.
Popcorn Ceiling Removal & Ceiling Refinishing
Popcorn ceilings — also called acoustic or cottage-cheese ceilings — were popular from the 1950s through the 1980s because they were inexpensive to apply and could hide imperfections. Today, homeowners throughout Holland and West Michigan are having them removed to modernize their interiors, improve lighting performance, and raise property values. Holland Drywall handles the entire process from start to finish.
Testing, Protection & Safe Removal
Homes built before 1980 may contain asbestos in the popcorn texture material. Before any work begins, we recommend testing a sample with a certified lab — a simple, inexpensive step that protects your family. If asbestos is present, abatement must be completed by a licensed asbestos contractor before we proceed. Once the ceiling is cleared for removal, we protect floors, furniture, and trim with heavy plastic sheeting. The texture is lightly misted with water to soften it, then carefully scraped from the drywall or plaster substrate below.
Surface Repair & Refinishing After Removal
Scraping almost always reveals gouges, skim-coat scars, and seam shadows that need attention. After the old texture is removed, we skim-coat the entire ceiling surface to fill imperfections and create a uniform base. Depending on the condition of the original drywall or plaster, this may require one or two passes with joint compound. The surface is sanded smooth and primed before any new finish is applied. If the existing ceiling drywall is heavily damaged or was installed without proper finishing (common in older builds), we may recommend overlaying with new ½-inch panels — a process that adds minimal height loss while delivering a like-new substrate.
Smooth & Textured Ceiling Finish Options
Once the ceiling is prepped and primed, you choose your finish. A smooth Level 5 ceiling is the most popular choice after popcorn removal — it reflects light evenly, looks clean and contemporary, and is easy to repaint in the future. For homeowners who prefer some texture, we offer orange peel and knockdown on ceilings as well. Both provide a low-maintenance surface that is more forgiving than smooth when it comes to minor dings or future touch-ups. We’ll walk you through the options and show you samples so you can make a confident decision before we start.
Ready to Get Started? Request Your Free Estimate.
From a small patch to a full popcorn ceiling removal, Holland Drywall is ready to help. We serve Holland, Zeeland, Grand Haven, Hudsonville, and communities throughout Ottawa County. Contact us today for a free, no-obligation estimate — we’ll assess your project, explain your options clearly, and give you a straightforward price.
Why Holland Drywall
Have questions? Visit our FAQ page for answers to common questions about drywall installation, repair, and pricing in Holland, Michigan.